This was a lesson inspired by Dali's moustache. Check out her site; the projects are wonderful. I changed it a little for our group.
This was our first project of the New Year! January not only brought us a brand new year, but it also brought some brand new students to our little Home School Group. I was very excited to welcome some new faces!! We were finishing up our Tunnel Book masterpieces, and I didn't want the new students to start from the beginning. I also didn't want them to have nothing to do! So, I remembered a lesson that I had saw on Dali's Moustache, and decided to try it out. I brought along the watercolor supplies and crayons, along with the supplies we needed for the tunnel books. I introduced this lesson first, before having the "old students" finish up their tunnel books, that way as they finished, they could join the others and start their paintings. It was a CRAZY and hectic (almost chaotic!) day, but everyone had fun, and the pictures came out great.
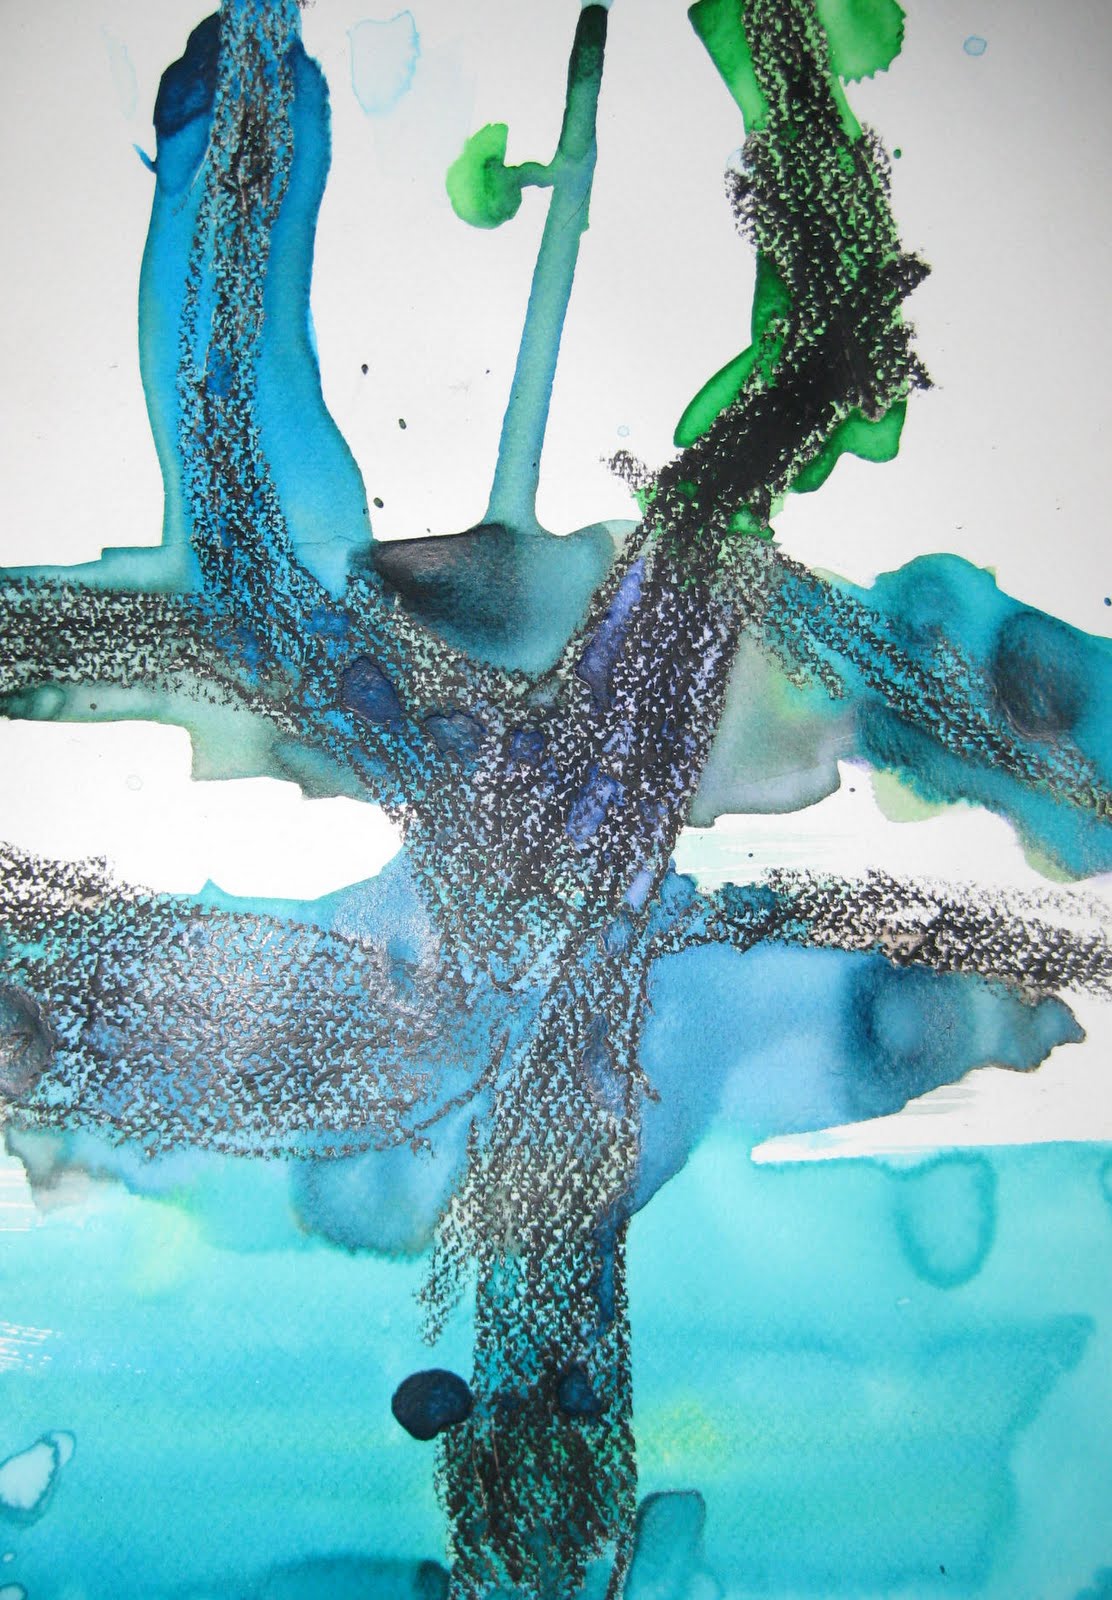
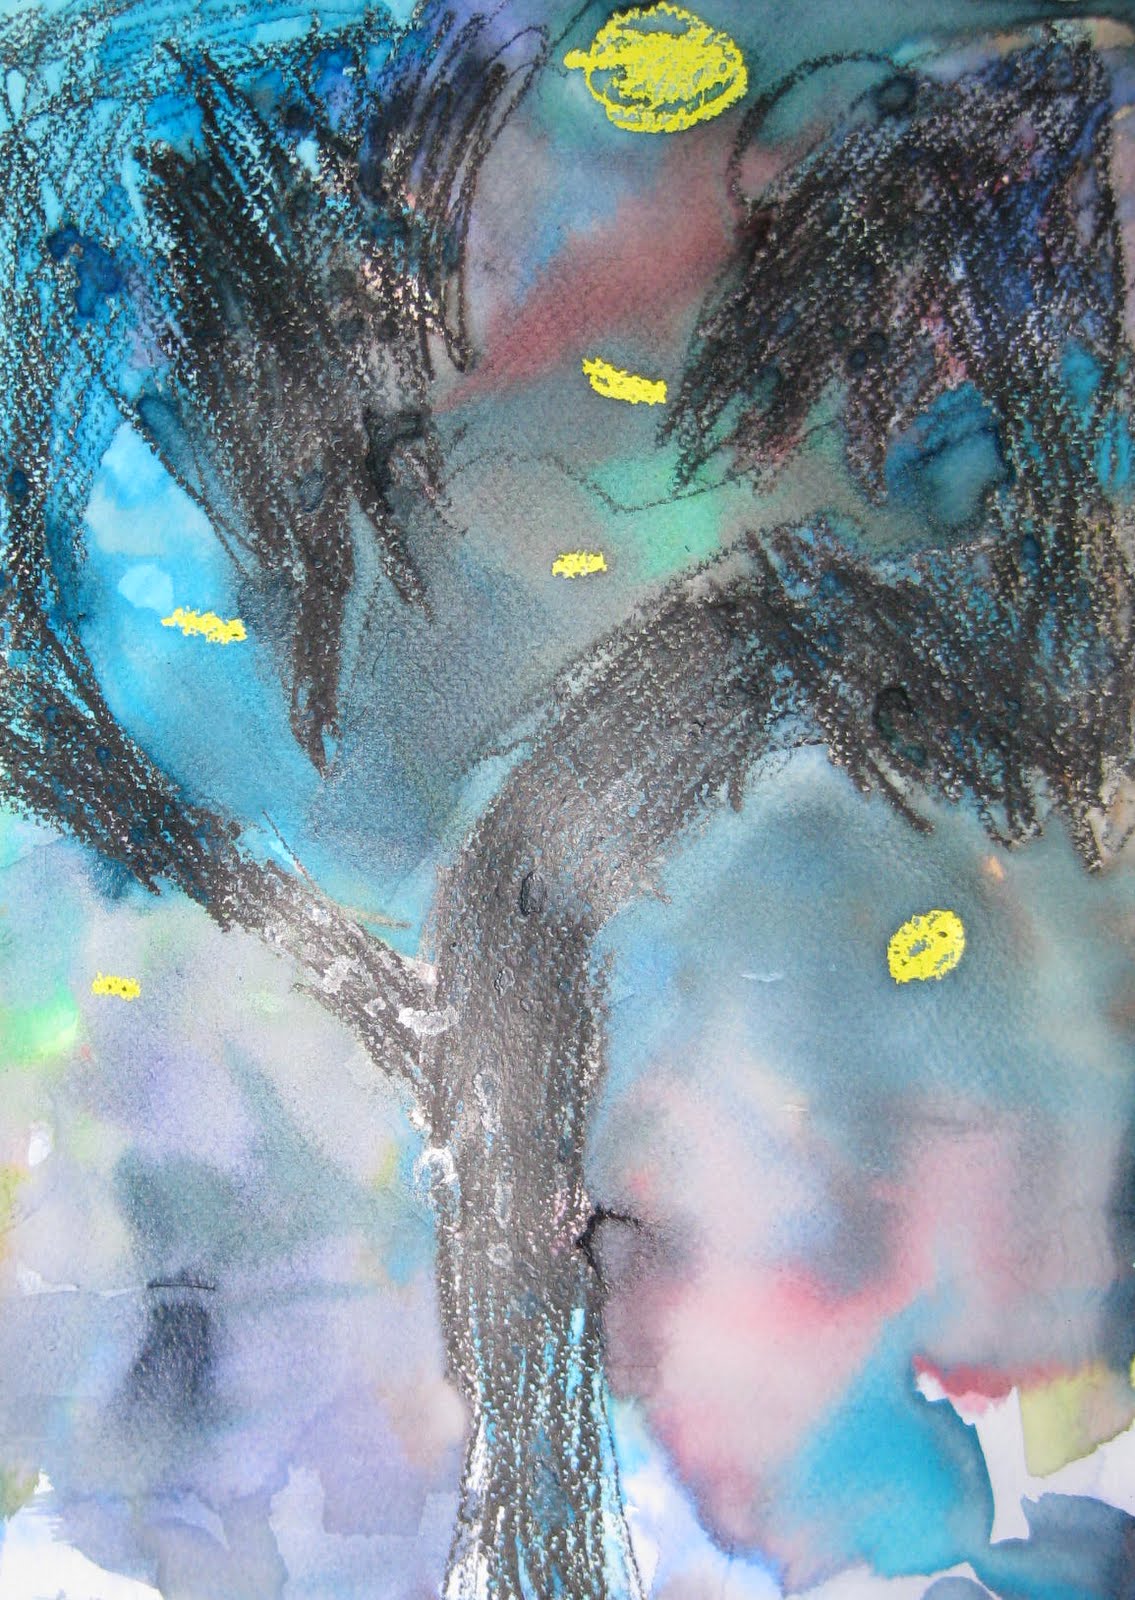
We started by talking about trees. I drew a quick tree on a piece of paper using their suggestions. I asked what they saw when they looked at the trees outside now that it was Winter. They told me about the pine trees, and Christmas trees, and the bare trees. I asked what the bare trees looked like, and how they were different from the tree on the paper. They told me how they were full of sticks, lots of lines, and twigs, and missing leaves. I then demonstrated how to draw a simple tree on piece of paper with a black crayon. I showed them how they could start by drawing a trunk and then a line from each side of the trunk right off the page. I asked why I would want it to go right off the page and received the answers: to fill the paper, to make it look really big, and because it looks neat. All great answers! I showed them how to make a "V" to create two branches, and to create another "V" where they wanted to create more branches that separate. We talked about the different directions the branches might extend. I was surprised to find out that the older students knew the words "Parallel" and "Perpendicular", and they could explain them for the younger students. Finally, I showed them to color the entire tree in as dark as they could with the black crayon, and how this would create a resist. After discussing the word resist, I demonstrated the concept on a sheet of paper by having a student give me a secret message for the class, writing it in white crayon, and then painting over it to reveal the message. I told them that they could try out their own secret messages when they finished their painting. Before painting, I told them they could use a yellow crayon to add a moon (which we discussed could be different shapes-crescent, half circle, and circle) and very small round circles for stars, and that they could use a white crayon to trace around these shapes to create a glow.
Finally, the painting part--I demonstrated how to use watercolors and explained that the more water they use they lighter the color. I showed them how to "wash" the color over their entire paper, and then how they could go back and add some other dark sky colors--purple and black--to their wet paint, to experiment with wet-on-wet painting.
This was our first project of the New Year! January not only brought us a brand new year, but it also brought some brand new students to our little Home School Group. I was very excited to welcome some new faces!! We were finishing up our Tunnel Book masterpieces, and I didn't want the new students to start from the beginning. I also didn't want them to have nothing to do! So, I remembered a lesson that I had saw on Dali's Moustache, and decided to try it out. I brought along the watercolor supplies and crayons, along with the supplies we needed for the tunnel books. I introduced this lesson first, before having the "old students" finish up their tunnel books, that way as they finished, they could join the others and start their paintings. It was a CRAZY and hectic (almost chaotic!) day, but everyone had fun, and the pictures came out great.
We started by talking about trees. I drew a quick tree on a piece of paper using their suggestions. I asked what they saw when they looked at the trees outside now that it was Winter. They told me about the pine trees, and Christmas trees, and the bare trees. I asked what the bare trees looked like, and how they were different from the tree on the paper. They told me how they were full of sticks, lots of lines, and twigs, and missing leaves. I then demonstrated how to draw a simple tree on piece of paper with a black crayon. I showed them how they could start by drawing a trunk and then a line from each side of the trunk right off the page. I asked why I would want it to go right off the page and received the answers: to fill the paper, to make it look really big, and because it looks neat. All great answers! I showed them how to make a "V" to create two branches, and to create another "V" where they wanted to create more branches that separate. We talked about the different directions the branches might extend. I was surprised to find out that the older students knew the words "Parallel" and "Perpendicular", and they could explain them for the younger students. Finally, I showed them to color the entire tree in as dark as they could with the black crayon, and how this would create a resist. After discussing the word resist, I demonstrated the concept on a sheet of paper by having a student give me a secret message for the class, writing it in white crayon, and then painting over it to reveal the message. I told them that they could try out their own secret messages when they finished their painting. Before painting, I told them they could use a yellow crayon to add a moon (which we discussed could be different shapes-crescent, half circle, and circle) and very small round circles for stars, and that they could use a white crayon to trace around these shapes to create a glow.
Finally, the painting part--I demonstrated how to use watercolors and explained that the more water they use they lighter the color. I showed them how to "wash" the color over their entire paper, and then how they could go back and add some other dark sky colors--purple and black--to their wet paint, to experiment with wet-on-wet painting.


No comments:
Post a Comment