Showing posts with label drawing. Show all posts

Friday, May 13, 2011

a little bit of drawing!

A short drawing lesson (would have loved to make it longer, but we had a special guest coming to teach our next lesson!).

I wanted to talk to students about how drawing is creating something using shapes and lines. I created two worksheets: one that showed different types of shapes and lines, and another that had 6 boxes with a small shape or line in each one.  They had to use other shapes and lines to finish each box into an image.  Whatever they were inspired to draw by what was in the box was fine.  It was great. They had a lot of fun! We shared some of our designs with the rest of the class.  Next, I talked about how I could use the same idea to draw an animal. Using a reference picture, I showed them how I could draw a couple shapes and connect them to draw what I saw. The kids then chose pictures from a pile I had printed out, and got to work drawing their image. They could use colored pencils to color them in.


Friday, March 4, 2011

Fabulous Funky Fish

A lesson about visual texture!

This was a 2 day lesson that the students really seemed to enjoy! Here is what we did:
Day1:  We started by talking about texture and visual texture. I demonstrated the first step to our project. We folded a paper into 8 squares. They would fill each square with a different visual texture.  The students filled in their graphic organizers, and when most were done, I had them go around the room and share two of their boxes with the class.  I explained that they would be using these ideas (and could use each others' too) to create a work of art...

Fish!  We talked about fish--what features they have, how there are many different types and shapes. We looked at photos, and I showed them my example.  They could draw a fish of their choosing; it didn't have to be based on a specific type of fish. Their fish needed fins--though the number was up to them. They also needed a face, which would be the only part they could leave "blank".  The rest of the fish would be sectioned off (again their choice on how--draw scales, stripes, boxes, etc) and each section would be filled with a different visual texture.  I showed them how they could make some lines thicker to make certain areas stand out better. They had fun creating their own fish. My expectations for them were different depending on their age--the  younger students, I was hoping just to see a recognizable fish shape with fins, sectioned/filled with some sort of lines and shapes...for the older students, I was hoping to see a lot of different textures represented as well. All of them did a great job!

Day 2--We reviewed (from the beginning, though with less detail, as we had a couple absent last time and two brand new students!) and I showed them how they would add color to their fish.  We talked about analogous colors--colors next to each other on the color wheel--which blend quite nicely. They had the option of painting the individual shapes and spaces with the colors or using the analogous colors to simply wash over and blend together across the whole thing.  My goal was for all the older students to paint it their way using the analogous color scheme---I expected that the younger students would use all the colors, so my goal was that they simply took their time and covered the entire fish.  I was surprised to see that even some of the younger students understood the color scheme, with an occasional "mistake".   Great job, again. Finally, they cut out their fish and glued it to a black background.  They look awesome, don't you think? 


Monday, January 3, 2011

Winter Camp Day 3

Wednesday = drawing and craft day


We started Wednesday by talking about self portraits.  I decided to repeat my lesson that I did back in October--Self Portraits--with a few changes.  We went through a similar process: practice, talk about the shapes and placements of our faces, good copy, transfer to vellum.  For a background, though, someone got rid of our big box of magazines, so I had to quickly come up with an alternative plan for our collage backgrounds.  I found some wonderful scrap-booking supplies, some sequins, some stickers, and construction paper. The girls (yes we had all girls for most of winter camp! The last day, we finally had a boy sign up!  I'm sure there will be more in summer!) went to town, creating backgrounds to reflect their personalities.  Most went with some initials or their name on some part of it, but some added extra details to make theirs special.  Here are some pictures:


After our break, we didn't have that much time for a big project. Luckily, we had lots of small things left over from summer camp...so I combined a few items, and we made heart magnets.  We used wooden hearts (a smaller heart glued to a larger heart), paint, and glitter paint. I hot glued the magnet on the back, and then we added a coat of Modpodge when it was dry.


Tuesday, December 28, 2010

Winter Camp day 2

Tuesday is Bookmaking Day

Today we created marbleized paper and made two different types of books. To marble the paper (the same method I used in the Starry Night lesson) we used shaving cream (the foamy kind--like Barbasol)  and paint (We used acrylic, but I have been told it also works well with liquid watercolor).  The students took turns adding paint droplets to shaving cream spread out on a baking sheet.  They then swirled the cream and paint using the end of a paint brush.  Next, I assisted them in placing a white sheet of paper over their cream creation, pressing it down a little, and then lifting it off.  We placed the messy sheet of paper on another tray and scraped off the cream.  The cream comes off, the paint stays! Ta-da! Marbleized Paper!

Next, we made our first book--a "Match-up Book".   This book is essentially a book that has 3 sets of pages (we used 4 in each set)  positioned vertically.  When all 3 sets of pages are on the same page, they make some kind of person or creature of the artist's choice--the head on the top page, the body on the middle, and the legs on the bottom. However, the sets can be turned to different pages to match up different people or creatures.  Here is my example:

all 3 on the same page

middle and bottom flipped to different pages

another match-up
We started by drawing sections on a piece of paper. Next we drew our characters. The students had so much fun coming up with people and creatures to draw--aliens, teddy bears, princesses and more.    Then we colored them with crayon. We stapled them to our back covers (a piece of foam in this case), cut on the section lines of the drawings, and then stapled on the front cover (Sparkly foam!).   Here are their examples:
drawing  characters

writing on the sparkly cover

two covers


a match up--still needs some color.

another match-up from another student--Teddy bear head, snowman body, and little girl's bare feet


Our second book was a special "Hide-away" book.  The book is made from envelopes to create pockets to hide pictures, or notes, or other special things inside.
We started by gluing 3 envelopes together (odd numbers work well) flap to back and then folding them accordion style. 
Next we glued a long ribbon onto the back of the last envelope, so that it could be tied when the book was folded. The students then decorated their books using a variety of papers, markers, rhinestones, sequins, stickers, and more. Here is a great example done by a six year old:


That concludes Bookmaking Tuesday.  There are so many more fun books to make that I wish we would have had time for.  I guess I'll just have to do them this summer during Summer Art Camp!

Thursday, November 18, 2010

Fall Colors

Project 2!


For our second project, I decided to have them make home made scratch art.

First, we discussed fall and the colors that we see on trees. We started our project by coloring a piece of tagboard.  They had to make sure that they colored in all the paper that was showing. We used fall colors. Once every spot was colored, we painted over the entire thing with black acrylic paint, and set it aside to dry.  While the students were waiting for their projects to dry, they practiced drawing leaves, using some reference photographs that I printed from the computer. I would have loved to take them out on a nature walk or simply bring in some leaves to look at, however this was during one of the many rainy weeks that we had in October. Once their papers dried, I demonstrated how to simply use their pencil to draw their design onto the black. This scrapes the black coating off and leaves the colored parts below.

Here are some pictures from the day, though they aren't the best quality, unfortunately!


Tuesday, November 16, 2010

"I'm going to Australia...I'm going to the zoo..."

"To see the fuzzy wuzzy bear and the bouncing Kangaroo!"

That song has been in my head since the first day of the my art class at St. Joseph the Worker Catholic Church.  I was fortunate to accept a job teaching a weekly art class to a local home school group. In my art class, I can have up to 30 students, ranging from ages 4-14.  It will be a challenge to differentiate the instruction to accommodate such a vast span of ages and abilities!  However, I am always up to the challenge.

My first day was actually October 7, 2010...however, I didn't decide to start a blog about the experience until today. So I will have to back track!  I will try to get updated as quickly as possible so that I can post either by weekly class or by project.

Day 1:
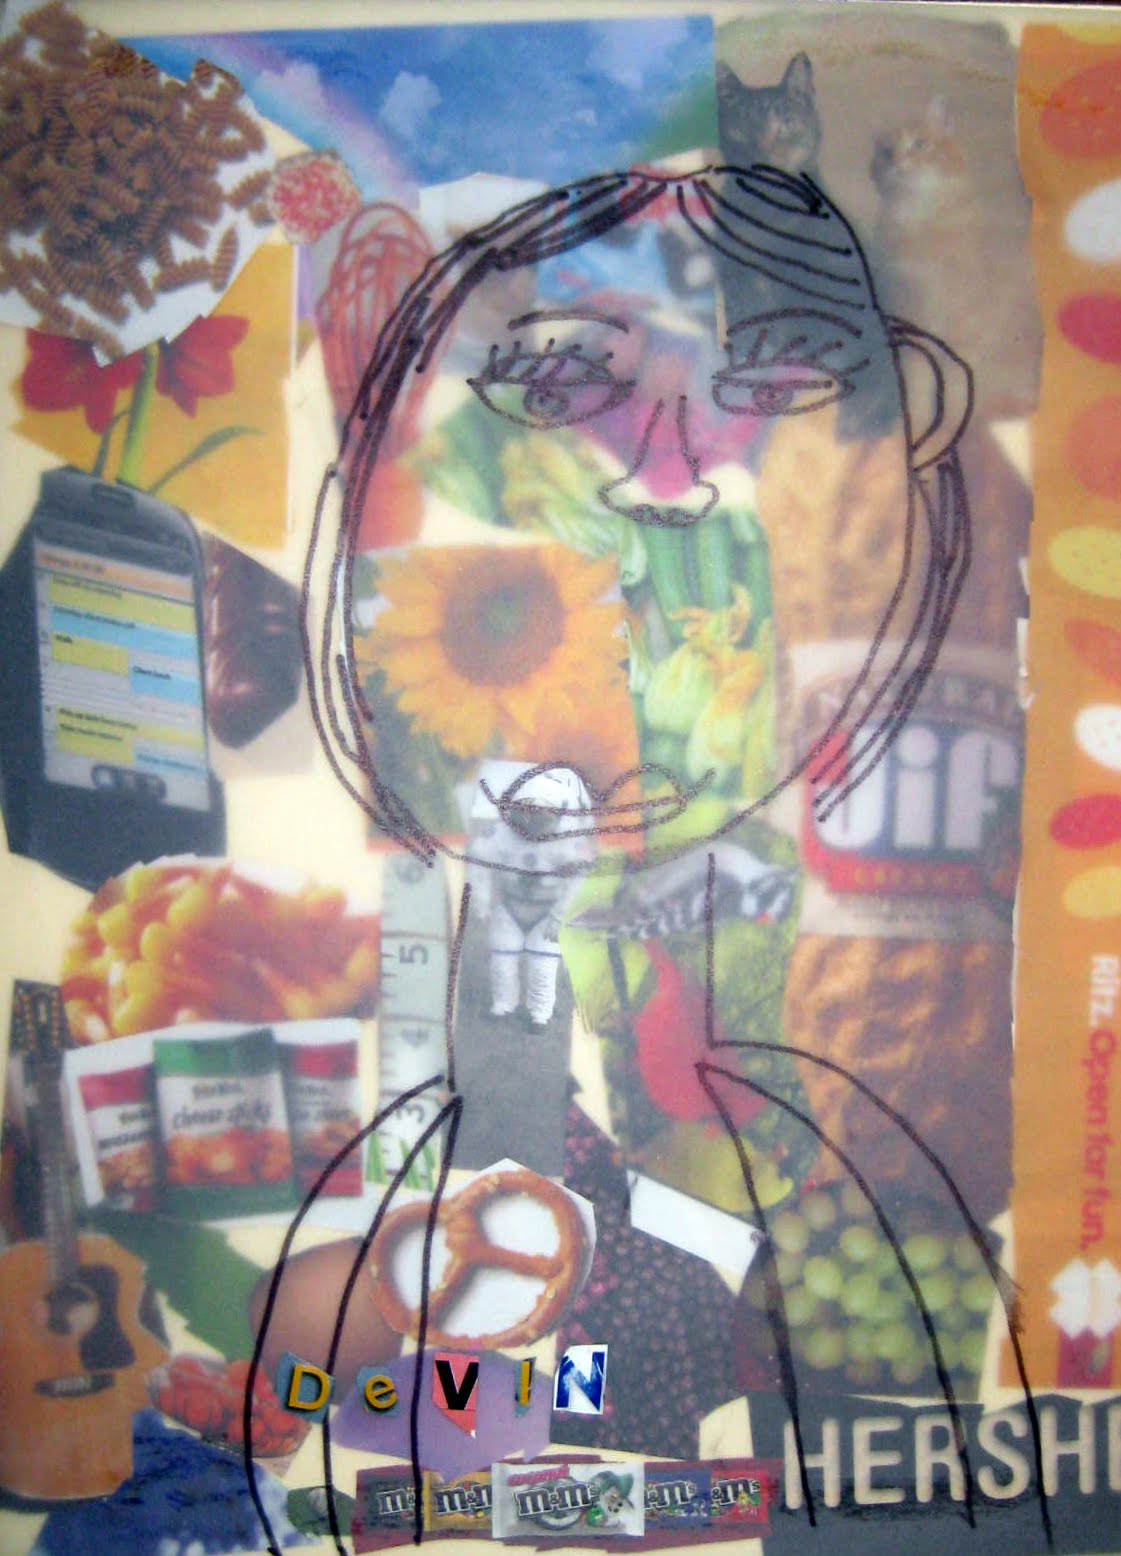
Our first project was a self portrait! I was super excited to start this project. I wanted to do a project that was really about the artist creating it, so I spent days racking my brain for a great project. One day it just came to me! I would have them create a self portrait on vellum using only contour lines, and then paste that self portrait over a magazine collage that symbolized different things about the artist. 

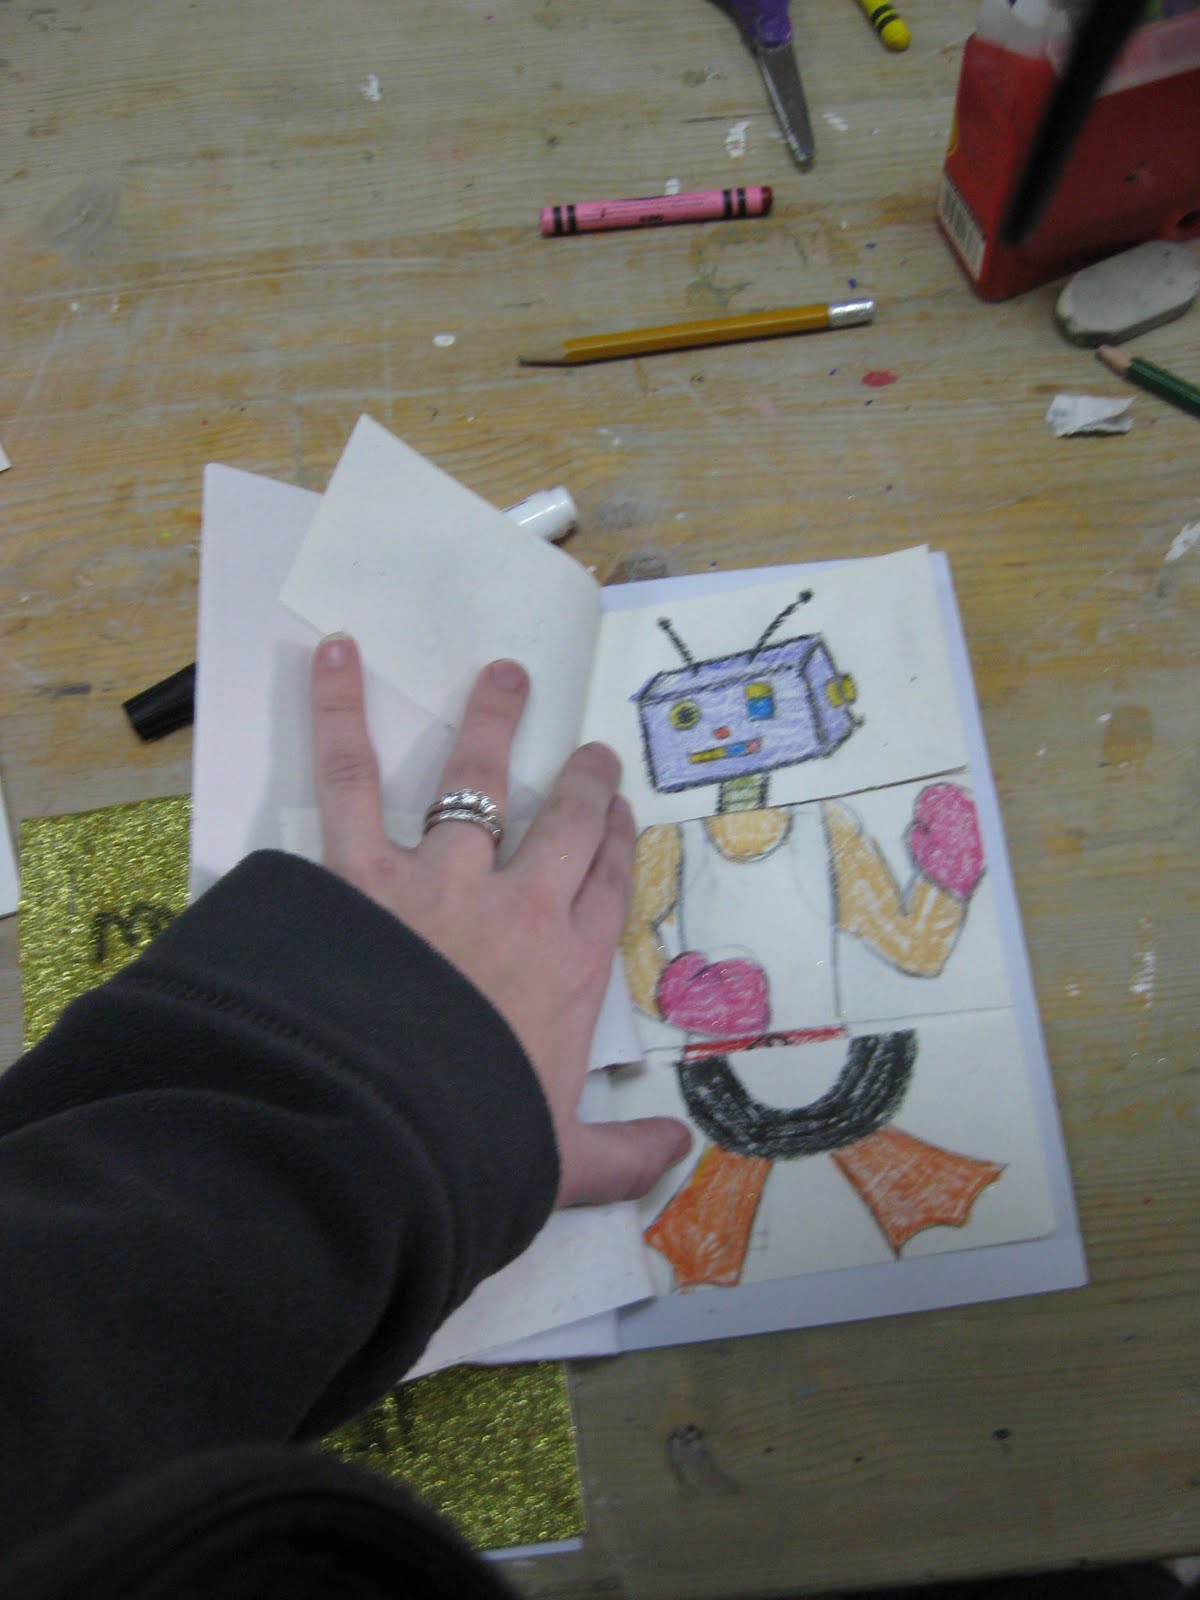
To start, we looked at self portraits and discussed what they were and why artists make them--A self portrait is simply a picture (or sculpture!)  an artist creates of him or herself,  it can be done in any medium, and there is a plethora of reasons as to why one would create such a thing, from the fact that you are always there for yourself, to wanting to express yourself, to it's just good practice.  I gave them an opportunity to create a 5 minute self portrait on their scrap paper without any instructions. After the 5 minutes were up, we talked about their self portraits. For the little ones, we reviewed what features and how many of each were on the face. We discussed their shapes. For the middle and older age groups, we talked about the placement and details. We all participated in drawing over our original drawings to make a more accurate picture, by drawing placement lines together and redrawing our features with more accurate shapes.  Next, I asked them what would have helped them draw their self portrait--someone said a photograph or mirror. I agreed; I explained the importance of looking at their subjects. We did a one minute blind contour--a continuous line drawing where you only look at your subject and not at your paper--to get used to looking at their subject (me, in this case) and not only at their paper. Then we got out the mirrors, and they set out to draw their self portraits. Once done, they traced their portrait onto vellum with a permanent marker.  Those who finished early started choosing pictures from magazines to represent themselves.


Day 2:


On day 2, we reviewed what they had learned and done the previous week, and then we discussed something new: collages! A collage is an assemblage of different pieces to create a new whole--in this case, it was ripping and cutting images from magazines to represent ourselves and gluing them to one sheet of oaktag. The word collage comes from the french word "coller" which means "To stick" or "to glue".

I explained how to glue their images down so that they overlapped. The students spent the class period searching for pictures and gluing them to their paper. As our final step, they glued down their vellum sheet on top of their collage, and then glued down letters from the magazines to spell out their names.  All in all, the students had a great time working on this project. I had a great time learning little things about them: how Nora likes make-up and girly things, how Emily loves horses, and how Simeon loves food!  We shared some laughs, and I got a good look at the talent this group really has in art!

 
After clean up, they had a little time to play till their parents came...and they spent the time playing a Ring-around-the-rosy kind of game called "I'm going to Australia." (Hence my title!)  I don't know if I'm ever going to get that song out of my head!