This is my third time doing the cupcake containers with students, and I think I've figured it out! I first tried this lesson last year as a LTS at Trumbauersville, Elementary. I freely admit that I had no idea what I was doing! Countless breaks in the kiln, lids that didn't fit, and missing or unrecognizable initials on every other piece! Needless to say, it was a learning experience for me as much as it was for the students. After much reflection, I tried the lesson again with at summer camp. Again, I learned, and now, finally, I found what works best for me, while allowing for the most creative results for them.
Originally, I had associated the lesson with Wayne Thiebaud and his paintings of various cakes and treats. The students accompanied their cupcake container with a 2/D artwork of their favorite treat. This time, we didn't get a chance to get into as much depth, however we discussed how sometimes artists create artworks that look like food, such as Mr. Thiebaud, as well as Claus Oldenburg. (When I do this again, I just found another great artist, Peter Anton!!). In any case, we reviewed our clay basics, and I demonstrated how to make the containers--pushing clay into a silicone cupcake wrapper (used as a mold) for the bottom, creating a pinch pot top, and adding a lip (adding it to the bottom piece was so much easier for them than adding it to the top, which is what I did the other times) and decorative details. The students were so creative, and I'm glad that I gave them more freedom this time. The results were amazing. Look for yourself!
Even the youngest students (5 year olds!) had amazing and successful results. I am very happy with the outcome. I'm glad that I kept trying it and that I learned from my mistakes. I'm also glad that I learned more about clay working at the pottery studio this summer; knowing that I could fire the pieces while they were together led to much better results--pieces that actually fit together! I feel silly for having not known that, but it just goes to show that an art teacher always has plenty to learn! I can't wait to do this one again, now.
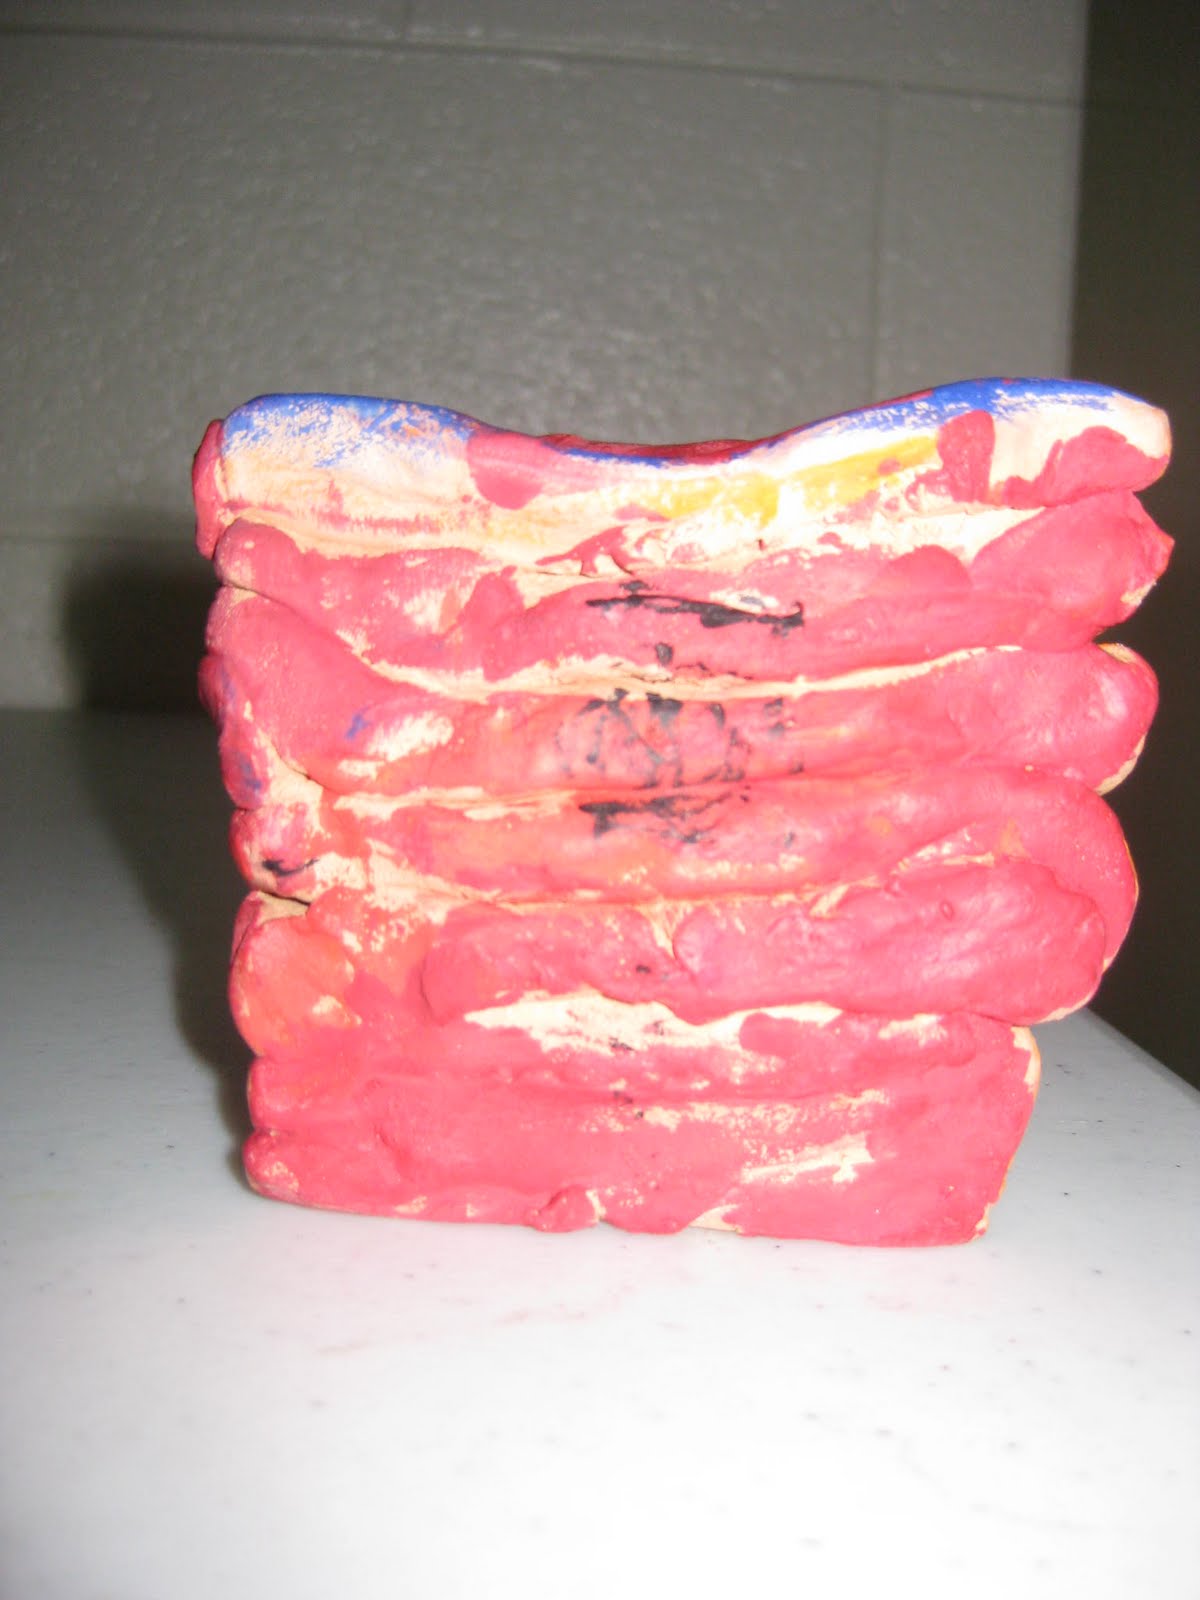
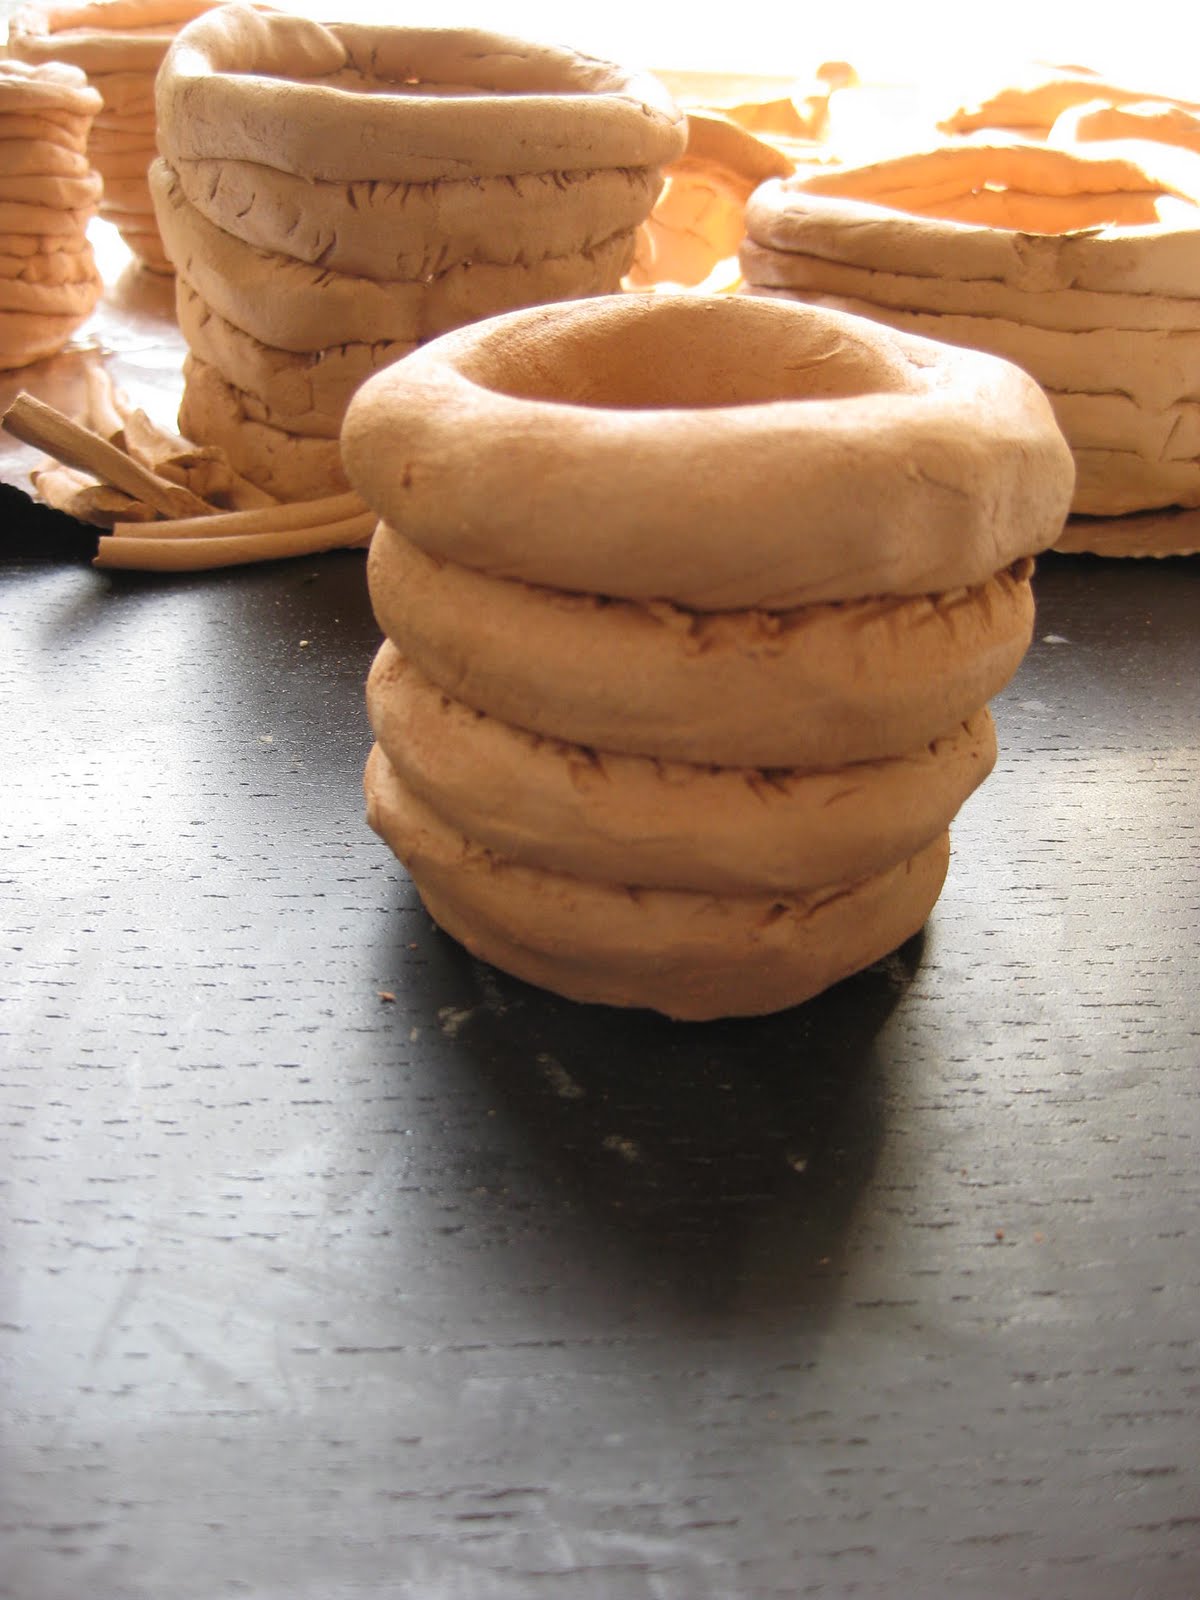
Also, here are a couple more of the finished coil projects:
Art is everywhere. Art is everything. These are some of the masterpieces that my students have created!
Showing posts with label clay. Show all posts
Thursday, February 24, 2011
Thursday, February 17, 2011
Coil Bowls
Our Coil Bowls are finished!
I was so excited that almost everything came out of the kiln in one piece! We had a few minor breaks and losses on our "free art" pieces (one of the many blessings of working with a smaller, private group--we were able to experiment with the clay and have some free time with it!), but the coil bowls and cupcakes came out great.
So, here is what we did with our coil bowls. I already mentioned the basics that our group discussed in The Sneak Peek. For the coil bowls, we also talked about how Native Americans used the same coiling techniques we were using. We discussed what they might have used their pottery for and how they may have decorated it. I showed them pictures of various designs and symbols that Native Americans used to decorate their pottery. Some of the students knew what symbols were, and told me about how they can represent other things and can be used to tell a story. I'm always surprised with how much they know! They are so smart!
To decorate our bowls, the students chose 2 colors of acrylic paint to start with (If they wanted another color or two, they could borrow it from a neighbor). They were able to paint the base color however we wanted--we talked about how they could paint it all one color, the inside and outside different colors, or how they could create a pattern with their color. After they painted their bowl, they allowed it to dry. During that time, they practiced drawing Native American symbols or their own made up symbols. They then added to these to their bowls by drawing them on with permanent marker. Finally, they used Modpodge to seal their clay piece.
Here are a few of the finished pieces:
Friday, January 28, 2011
Sneak Peak of our Clay!
I didn't want to make a complete post of our clay projects until they're fired and painted, but I couldn't wait to post the pictures. So here is a little sneak peek!
For both projects we talked about the basics of clay. I was surprised about how much they knew!!
- Clay comes from the ground
- Clay is called Greenware until fired
- After it is fired, it is called Bisque
- To fire it, we put it in a big oven called the Kiln
- 3 techniques we use to build with clay are called slab, coil, and pinching
- To attach clay to other clay we use scoring (little hatch marks) and slip (water and clay mixture)
Coil vessels!
And Cupcake containers!
Monday, January 3, 2011
Winter Camp Day 4
Thursday is Glaze Day!
Well, fortunately, the children that signed up for clay day (Only 2! Not used to such small groups!) also signed up for glaze day, so that I could see how their pieced turned out with a little color on them. We spent the entire camp day painting our clay pieces using the special glaze the pottery store orders. The glaze we use their is wonderful! It fires the way it says it will, comes in loads of colors, and it stays where you put it! I love that. I can't tell you how many clay pieces I made in school that didn't turn out the way I wanted because of the glaze. That said, the girls had a blast painting their dry erase boards and their coil bowls. I think they will turn out lovely when fired!
Tuesday, December 28, 2010
Winter Camp
This year, I am running the Winter Art Camp at Paint Some Pottery in Allentown (Great store-come check it out!). Our first day, Monday, was clay day.
Clay is always a fun medium to work with. We started the workshop by discussing clay: Have you used clay before? What is it? Where does it come from? What does it feel like? I then told them what our first project would be--their own mini dry erase boards. We rolled out some slabs. We then talked about the different ways we could decorate our clay pieces: we could add things to it using cookie cutters and coils, or we could use tools to imprint designs, like stamps or clay tools. We used a coil to create a border around the "writing area" on our boards, by scoring and using the slip . Then they had free reign to decorate the outside area.
Our second clay project was a coil candle holder. They will hold tea lights when they are done. We rolled a ball of clay and patted it down to make a base. We reviewed how to make a coil. I showed them how to attach the coil to their base and then continue making and adding coils to build up the walls of their candle holder. To finish, I had them brace their hand against the outside of their clay piece and use one or two fingers from their other hand to gently "erase" the line on the inside of their candle holder. They then used a damp sponge to smooth the outside coils slightly.
Clay is always a fun medium to work with. We started the workshop by discussing clay: Have you used clay before? What is it? Where does it come from? What does it feel like? I then told them what our first project would be--their own mini dry erase boards. We rolled out some slabs. We then talked about the different ways we could decorate our clay pieces: we could add things to it using cookie cutters and coils, or we could use tools to imprint designs, like stamps or clay tools. We used a coil to create a border around the "writing area" on our boards, by scoring and using the slip . Then they had free reign to decorate the outside area.
My example that I created as I went through the different steps |
playing with clay |
Our second clay project was a coil candle holder. They will hold tea lights when they are done. We rolled a ball of clay and patted it down to make a base. We reviewed how to make a coil. I showed them how to attach the coil to their base and then continue making and adding coils to build up the walls of their candle holder. To finish, I had them brace their hand against the outside of their clay piece and use one or two fingers from their other hand to gently "erase" the line on the inside of their candle holder. They then used a damp sponge to smooth the outside coils slightly.
Subscribe to:
Posts (Atom)