Tuesday is Bookmaking Day
Today we created marbleized paper and made two different types of books. To marble the paper (the same method I used in the
Starry Night lesson) we used shaving cream (the foamy kind--like
Barbasol) and paint (We used acrylic, but I have been told it also works well with liquid watercolor). The students took turns adding paint droplets to shaving cream spread out on a baking sheet. They then swirled the cream and paint using the end of a paint brush. Next, I assisted them in placing a white sheet of paper over their cream creation, pressing it down a little, and then lifting it off. We placed the messy sheet of paper on another tray and scraped off the cream. The cream comes off, the paint stays! Ta-da! Marbleized Paper!
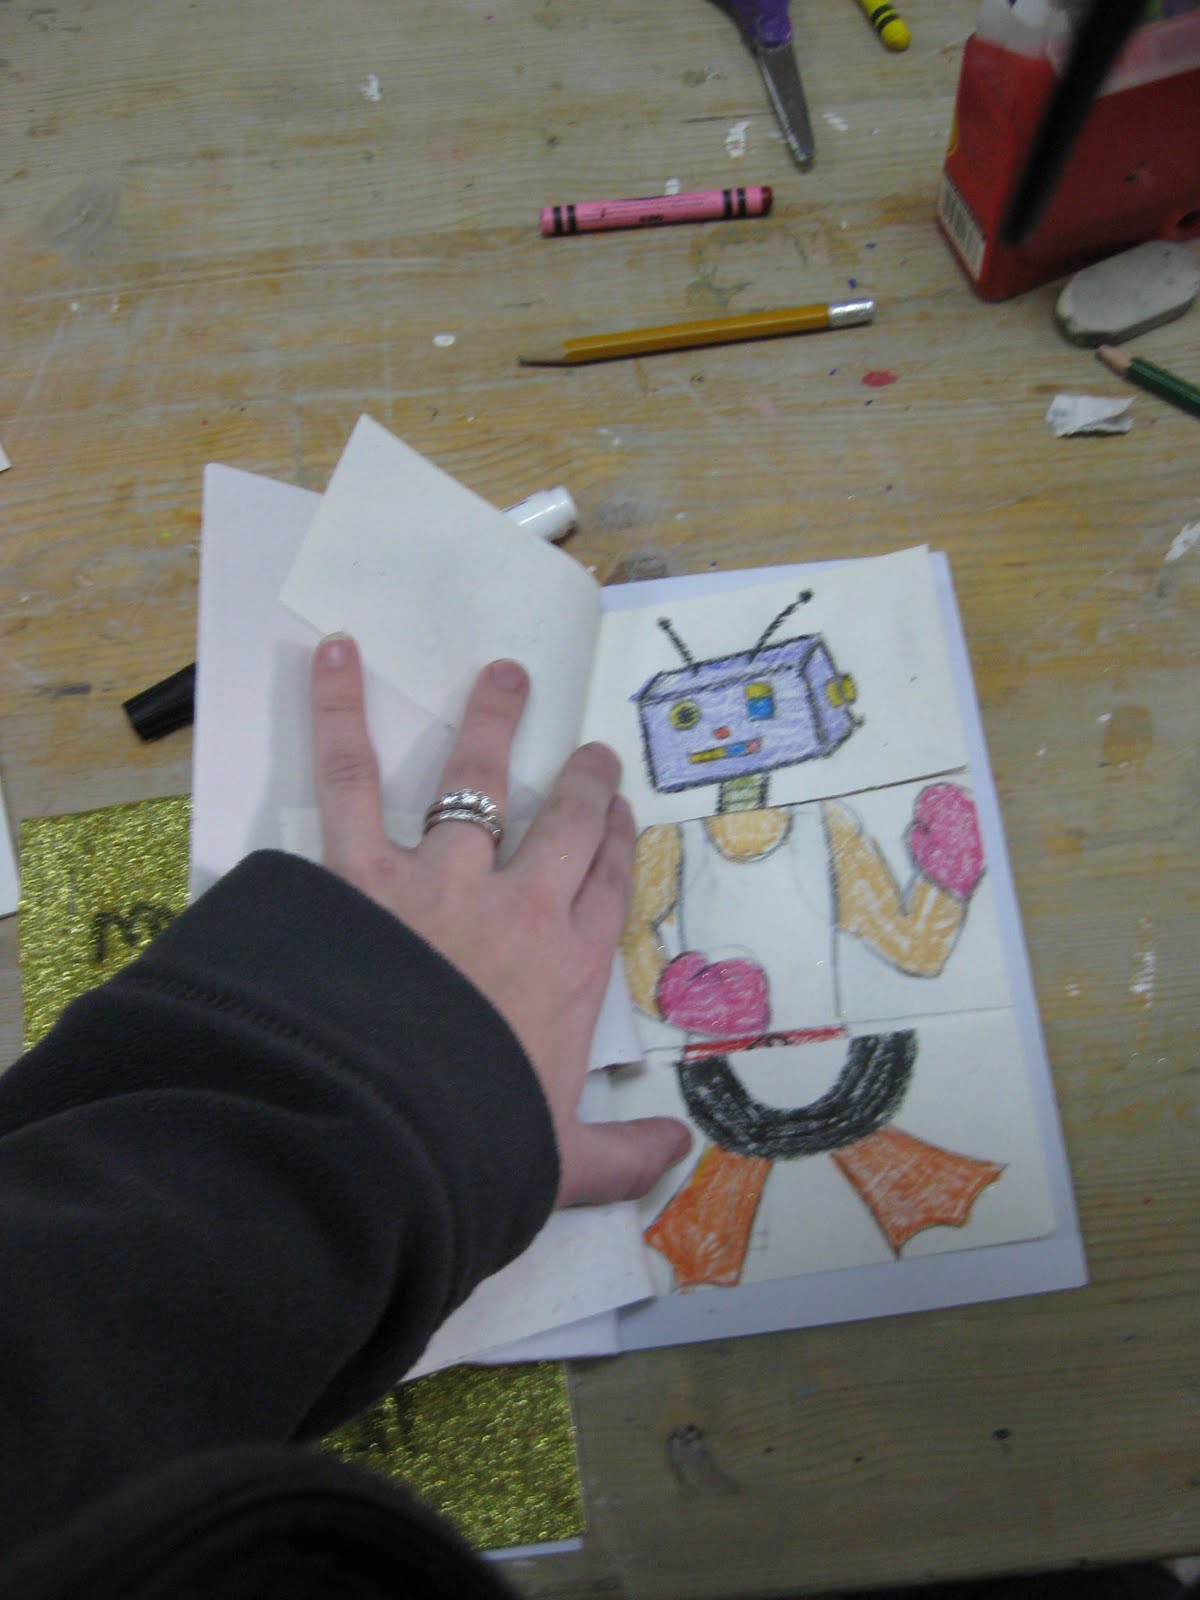
Next, we made our first book--a "Match-up Book". This book is essentially a book that has 3 sets of pages (we used 4 in each set) positioned vertically. When all 3 sets of pages are on the same page, they make some kind of person or creature of the artist's choice--the head on the top page, the body on the middle, and the legs on the bottom. However, the sets can be turned to different pages to match up different people or creatures. Here is my example:
 |
| all 3 on the same page |
 |
| middle and bottom flipped to different pages |
 |
| another match-up |
We started by drawing sections on a piece of paper. Next we drew our characters. The students had so much fun coming up with people and creatures to draw--aliens, teddy bears, princesses and more. Then we colored them with crayon. We stapled them to our back covers (a piece of foam in this case), cut on the section lines of the drawings, and then stapled on the front cover (Sparkly foam!). Here are their examples:
 |
| drawing characters |
 |
| writing on the sparkly cover |
 |
| two covers |
 |
| a match up--still needs some color. |
 |
| another match-up from another student--Teddy bear head, snowman body, and little girl's bare feet |
|
Our second book was a special "Hide-away" book. The book is made from envelopes to create pockets to hide pictures, or notes, or other special things inside.
We started by gluing 3 envelopes together (odd numbers work well) flap to back and then folding them accordion style.
Next we glued a long ribbon onto the back of the last envelope, so that it could be tied when the book was folded. The students then decorated their books using a variety of papers, markers, rhinestones, sequins, stickers, and more. Here is a great example done by a six year old:
That concludes Bookmaking Tuesday. There are so many more fun books to make that I wish we would have had time for. I guess I'll just have to do them this summer during Summer Art Camp!


No comments:
Post a Comment